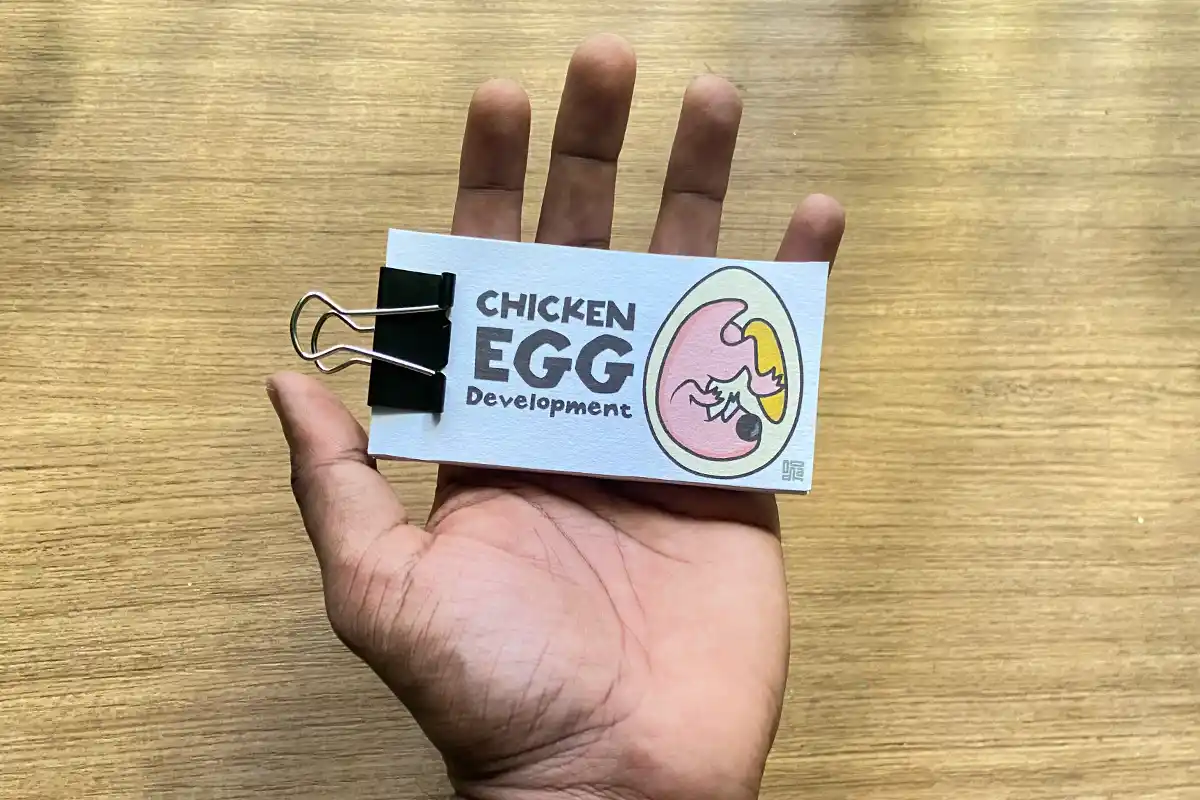
Looking for an engaging, hands-on activity to spark your child’s curiosity about nature? This DIY Chicken Embryo Development Flipbook is an interactive and creative way to learn about the magical 21-day journey of a chick inside an egg. This printable activity lets children build their very own animated flipbook, making it perfect for at-home learning or homeschool projects.
Here’s a step-by-step guide on how to create this educational and fun flipbook craft!
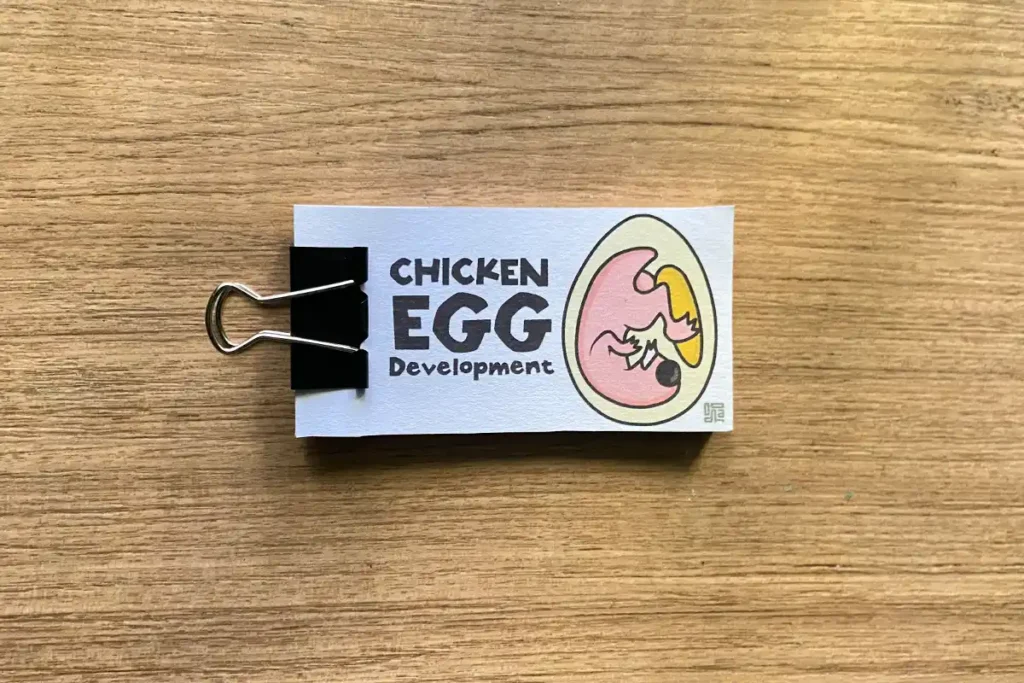
1. Get Your Printable Flipbook
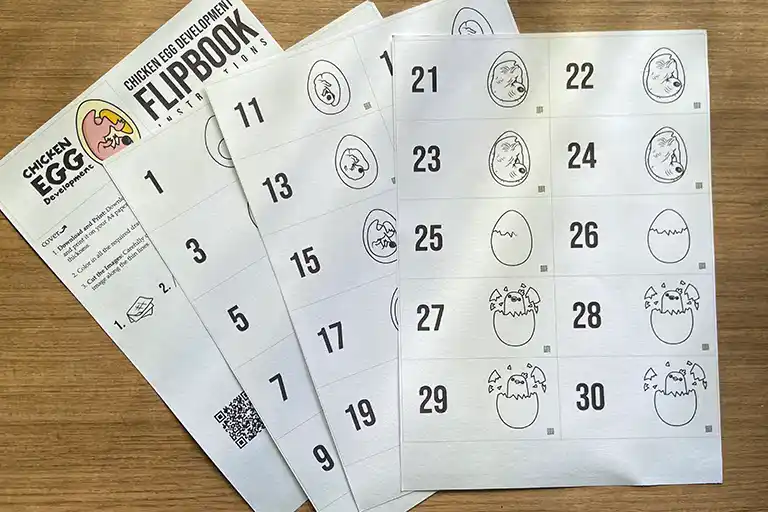
Start by downloading the Chicken Embryo Development Flipbook from our website, OODHA ART. Once you’ve made the purchase, you’ll receive a high-quality PDF file containing four pages of flipbook images, each representing different stages of a chick’s development.
- What’s included?
- A 4-page PDF file of printable flipbook illustrations
- Simple, easy-to-follow assembly instructions
2. Prepare Your Materials
Before printing, gather everything you’ll need:
- A4-sized paper (paper with 140 gsm or more works best)
- Printer (for printing the pages)
- Coloring markers, crayons, or colored pencils (for artistic expression)
- Scissors (for cutting out the images)
- Binder clips (to bind your flipbook securely)
3. Print and Color
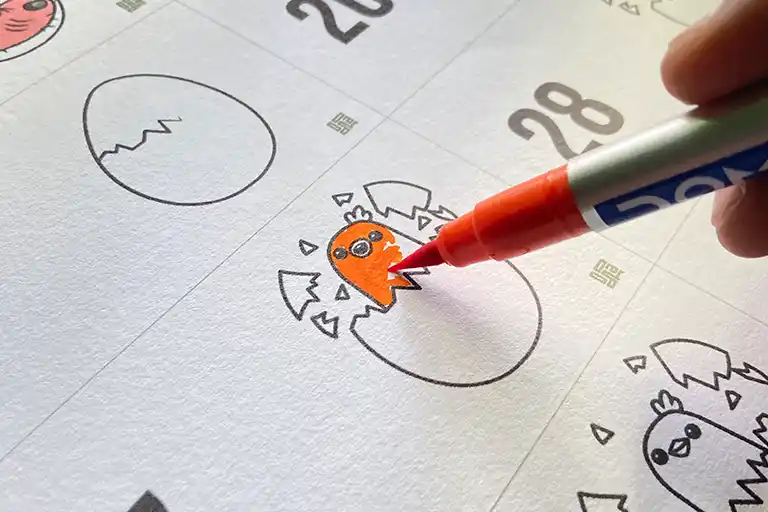
Use a standard printer to print the PDF file on A4-sized paper. Remember to select the “shrink oversized pages” option to ensure proper sizing. Once printed, let your child color in the illustrations with markers, crayons, or colored pencils. Coloring each stage is not just fun but also helps reinforce learning about the chick’s growth.
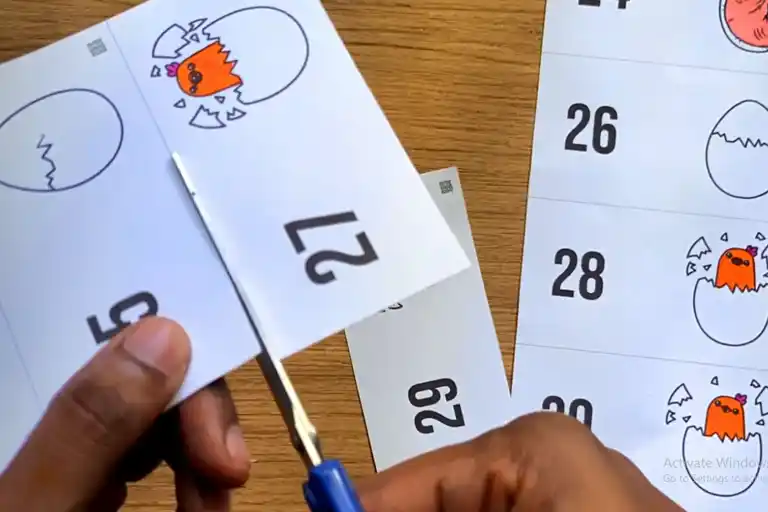
4. Cut Out the Flipbook Pages
Once colored, carefully cut along the thin lines around each image. Precision is key here – it ensures smooth flipping later!
5. Assemble the Flipbook
Now that the pages are cut, it’s time to stack them in order. Start with page 1 at the top and follow with 2, 3, and so on. Once they’re neatly stacked, secure the pages using binder clips.
6. Bring the Flipbook to Life!
Here’s the exciting part! Flip through the pages quickly to watch the chick’s development unfold. Each flip reveals a new stage, from the first day of fertilization to the final day when the chick is ready to hatch.
Why Choose the Chicken Embryo Development Flipbook?
This project is more than just an arts-and-crafts activity—it’s an educational tool that brings science to life! As kids color and flip through the pages, they’ll explore the fascinating development stages inside a chicken egg:
- Day 1: Fertilization and the formation of the embryo
- Day 5: Heartbeat begins
- Day 10: Beak development starts
- Day 18: Final preparations for hatching
- Day 21: The chick hatches!
A Fun Learning Alternative for Homeschool or Summer Break
The Chicken Embryo Development Flipbook is perfect for incorporating into homeschool curriculums, especially as part of a chicken unit study or biology lesson. It’s also a fun spring or summer activity that helps keep kids engaged while they learn about nature.
Encouraging creativity and education in one go, this printable flipbook lets your child step away from screens and dive into hands-on learning. With each flip, they’ll witness the transformation of a chick and learn how life begins—one flip at a time!
Ready to Crack Open the Fun?
Visit OODHA ART to download your Chicken Embryo Development Flipbook today and embark on a creative journey that’s educational, exciting, and full of discovery!